Noa Linen Shirt Sewing Pattern (PDF)
Description:
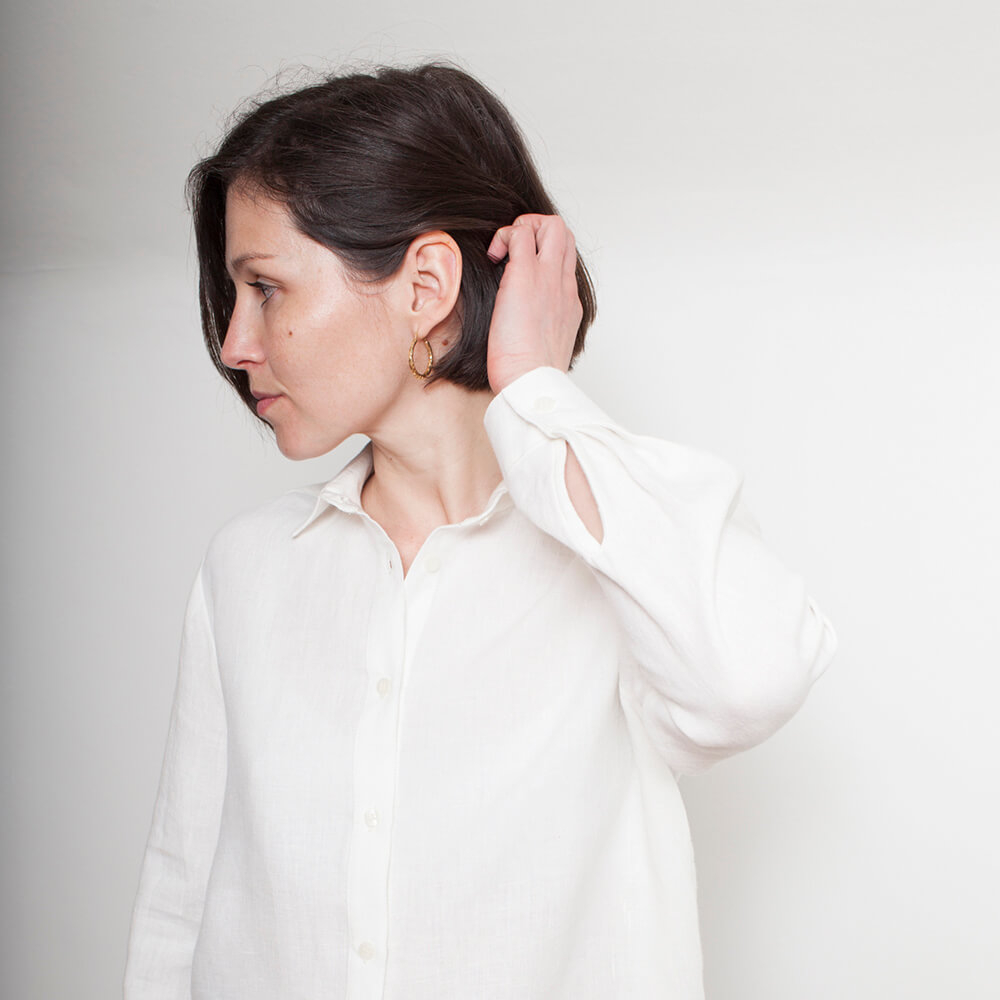
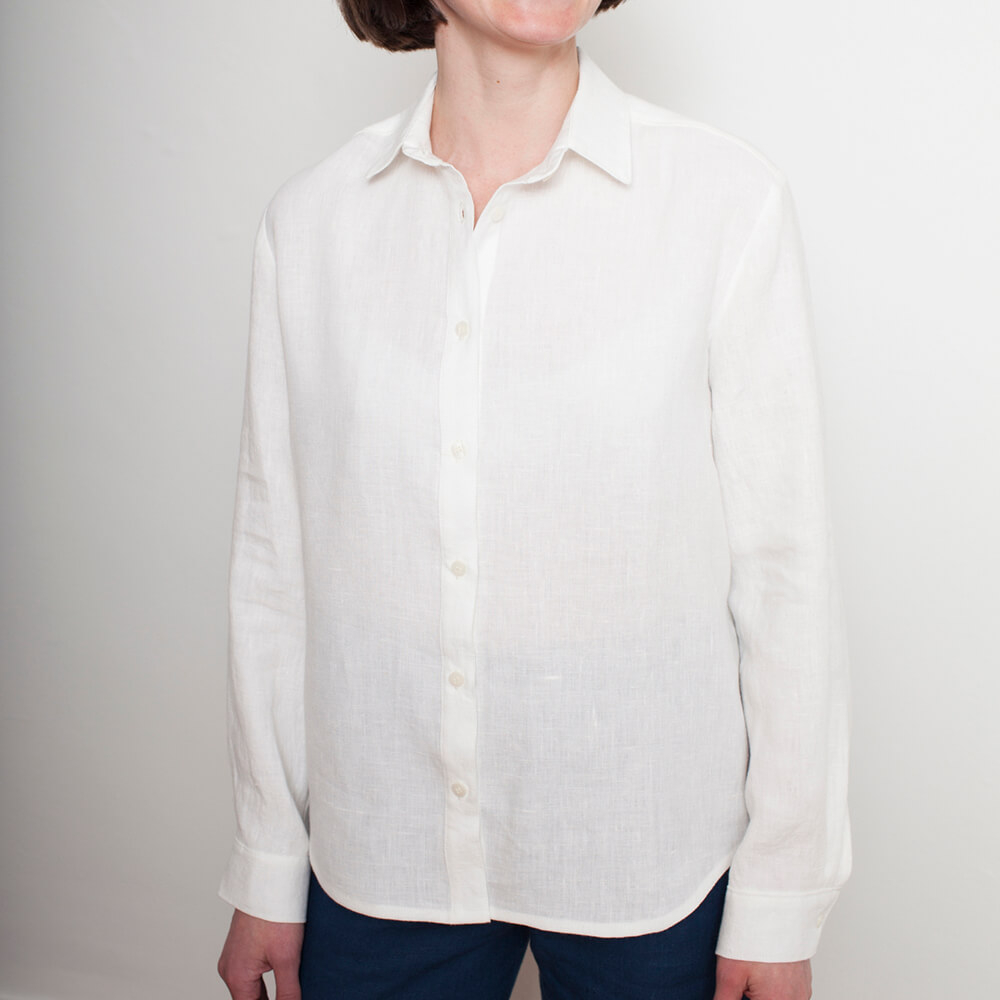
Channeling the minimalist spirit of a modern woman, the Noa shirt is a modern classic. This simple shirt combines relaxed silhouette with classic tailored styling, like a point collar, sleeve cuffs and a back yoke. One of the most foundational and versatile pieces of any wardrobe, it can be dressed up or down so easily and pairs really well with just about anything. Made out of our finest linen, it'll get softer and softer with every wash.
Product Specifications:
| Type: | PDF Pattern |
| Skill Level: | Beginner |
| Design Variations: | 1 |
| Illustrations: | Yes |
| Instructions: | Yes |
| Sizes: | 0/2 to 28/30 |
Customer Questions and Answers
What height is this pattern drafted for?
The average of Noa Linen Shirt pattern drafted is 5.6" -5.7".
Why is the Noa shirt pattern no longer free?
We had promotion for free patterns for a while , but this offer has been expired. All patterns is for sale at this time for all of our customers.
This pattern is no longer free, so I am not able to find the sizes that the pattern will fit anywhere. What sizes will this pattern fit? Thank you
how much fabric do i need for the 16/18 size? it says 2 yards but tjat is not enough unless i am laying it out wrong?
We recommend to order 3 yards of fabric for Noa Linen Shirt size 16/18.
Hi! With this pattern, is it possible to lengthen the body so it ends mid tight?
Yes you can do this
Almost finished but no idea how to insert the button to the collar in the right place, it looks wierd no matter what I do. Wish I could include a picture.
From the edge spaced 3/4 inches sew on the button.
This is more of a suggestion than a question, but I've noticed others posting comments/ questions about the cuff. I made it work, but it'd be SUPER helpful if you could add a notch or two to the cuff and sleeve. Thanks!
Thank you for clarifying the problem. Can I reverse the front left and right patterns and still make it work?
So long as you have 2 front which are opposites and right sides up, the only difference will be which side your buttons and buttonholes are. So if this doesn't bother you, your project will be ok.
I think I've messed up before starting to sew. When I opened up my fabric to cut out the "Right Front" and "Left Front", I placed the pattern on the wrong side of the fabric. It looks like I should have placed on right side of fabric. Any suggestions? My email is cgcatesgmail.com...PLEASE HELP (My fabric is pinwale corduroy)
Hello, I'm sorry you've had a sewing mishap there! Our patterns are designed to be used for our linen fabric, so you will need to take some extra precautions for your corduroy fabric such as making sure the pattern pieces are cut correctly and in in the correct direction for the nap. Linen doesn't have a discernable right and wrong side, or a direction.
Hey printed the pdf but it's not accurate and can you pls tell me a4 size of the printout or can you pls help what changes to do while printing
Hello, please make sure your printer settings are set to 100% or actual size, and the paper in the tray matches your printer settings on the computer. For more assistance, please email us directly.
Could I make a man's shirt if I changed the sides of the buttons/buttonholes?
Yes, you can do this.
Bonjour j'aimerai faire ce chemisier j'ai téléchargé le pdf patron je n'arrive pas a avoir les instructions pour la fabrication .Merci Gérard Marie France
Hello, Please go to our blog for instructions: blog.fabrics-store.com and enter "Noa" into the search bar. This will bring up a number of posts including the tutorial post.
When the model is wearing a white garment, can you position them in front of a wall that is NOT white? The details of the garment are impossible to see. Or put the model in a light, solid garment.
Thank you for your feedback. You can also see details of the garment on the line drawings which are included in the free download.
Hello, I have trouble with the length of the shoulder seams... the back seam is more than 3cm smaller than the front shoulder seam... I double ckecked the pattern pieces and every other seam is the right size... I don't understand what happened... Help !
Hello, We recommend comparing your pattern to your fabric to check its accuracy and see if it has stretched out. I would also make sure you line up your front and back shoulders along the sewing lines, ad they can be longer at the edges to account for the shape of the armhole.
Where is the size chart?
it is located within the free download.
toujours pas de possibilité d'avoir les instructions sur ce lien blog.fabrics-store.com/2019/05/21/noa-linen-shirt-tutorial/ toujours la même pop up :( tant pis
Hello, the pop-up is there to let you sign in or register. You will need to register or sign in to access the free download.
impossible d'avoir les instructions ... ouverture de pop up pour s'inscrire sur la news letter meme en s'inscrivant la meme pop up s'ouvre à chaque fois
I'm sorry you are having trouble with pop ups. Here is the direct link to the instructions: blog.fabrics-store.com/2019/05/21/noa-linen-shirt-tutorial/ You can also download them from this page to using the link at the end of the tutorial.
Where are the instructions for the Noa Shirt? I have the pattern but just can't seem to find the instructions! Thank you
Free pattern tutorials can be found on our blog at any time. Please go to blog.fabrics-store.com and search "noa" to find the tutorial.
Hi! So... I want to turn this into a sleeveless shirt dress (with gathered waist). Would I need to do anything special to make it sleeveless, other than omit the sleeve pattern and use bias finishing instead? I'm worried about warping in the armhole if left without a sleeve. For the skirt, I'm planning on using the skirt for the Diana, except widening and doing gathers instead of pleats. Would that be OK? Are the button plackets the same width & etc? fabrics-store.com/dress/diana-button-down-linen-pleated-dress-type-pdf
Hello, you may like to shape the armholes since they are designed to accommodate a sleeve, which can be quite long at the shoulder than a traditional sleeveless design. The Noa and Diana patterns aren't design to go together so be sure to make sure the Diana matches up to the Noa shirt at your desired point, allowing for enough extra fabric in the Diana pattern for your gathers. If you would like a sleeveless shirt dress with a gathered skirt, perhaps you may like to look at the Salome Dress.
I have problem i don't understand So where do we use the two narrow button band? It seems it is not involved in your pictures and the shirt , would you help me please ?!!
Hello, The button band is covered in the linked tutorial, which is mentioned at the start of the first step of the tutorial. Please copy and paste this link into your browser to see it if you can't find the link: blog.fabrics-store.com/2017/10/03/sewing-glossary-how-to-draft-and-sew-button-bands-the-shirtmaking-way/
Hello, I've printed the pattern but can't find the cutting layout, can you direct me to this, for the noa shirt pattern.
Hello, In order to offer so many patterns for free, we have made the layouts very simple so they don't include cutting layouts. We recommend you fold your fabric in half with selvedges together and start by laying your pattern pieces which need to lay on the fold first, then laying the other larger pieces on your fabric. Finally slot in any other pattern pieces into the gaps.
hello I have downloaded this pattern but I cannot found the instructions? thanks for your help Anne
Hello Ann, If you go to our Blog, The Thread, and search "Noa shirt" in the search bar, the tutorial will come up. Blog is blog.fabrics-store.com
Thanks for this lovely pattern and the elobarate instructions! I'm making the shirt in size 0/2. I found my button band was a little short, so it's left unfinished on the inside (not enough length for a double fold). I also found the cuffs are a lot wider than the sleeve (I already formed the two pleats following the instructions). How come?
Hello, The button band is shorter on the collar edge as well as the hem to reduce bulk in these areas. The cuff however, is smaller than the sleeve opening, so I would check your pattern was printed at the correct scaling.
Hello, Im going to print the pattern but, first, I would like to ask if it is possible for you to send me the pattern in A0 format so I can save al lot of pages. Thank you for helping me. Monica
This pattern is a beauty! I made it as a toille out of scrap sheeting in order to try it out as a dress. I am short so lengthened the body by 12 inches and shortened the sleeves by 3 inches. I am so impressed with the helpfulness of the tutorials provided. Thank you, thank you for sharing this pattern and for the lovely fabric available from this company to make beautiful garments. I look forward to making it in my coveted linen next.
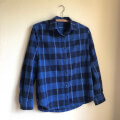
I've made a lot of shirts with many different patterns and this is now my new favorite shirt pattern. I made one with linen and am currently working on one with a Kenyan cotton. I'll post pictures when I'm done. We had somebody in a beginning garment making class and they were able to follow this pattern and make a well fitting shirt. It definitely is oversized and I will likely use french seams as suggested by another reviewer if I make another one from linen (or silk!) My only complaint is the complete lack of notches on the cuff. I made it work, but it'd be super helpful if you could add a notch or two to the cuff and sleeve. I plan to post this suggestion in the comments section as well.
Gorgeous shirt pattern. Easy to print & pieces fitted together very well. Even the sleeve head went in well. I only found the cuffs were very big so I just cut them down in width & added an extra pleat to the sleeve. I've made 3 of these lovely shirts now. One in vintage linen & two in fine cotton.
This pattern is amazing. I'd never sewn a shirt such as this before and it came out so well. I made it in a white linen. It's a staple in my wardrobe. Thinking about making another
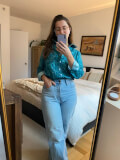
This was definitely a daunting pattern for someone with little experience in garment sewing, but I managed (and learned a lot along the way)! I had to use the linked tutorials for every step, so the instructions ended up being a lot longer than I expected. Have patience and it will be fine. I used a basic cotton fabric and cropped it about 4.5 inches to hit my natural waistline. It's definitely more of a boxy fit, but I like it like that. I'll be making more!
It's my new favourite pattern! It was a bit intimidating to start the project as there are many pieces and many button holes etc, buy I followed the instruction one by one, and I was so happy to end up with a perfect shirt. It fits nicely and comfortable to wear. I can't wait to try the pattern with different fabric now.
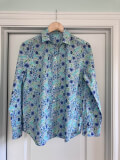
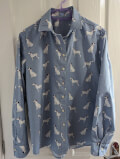
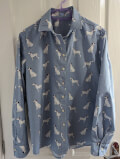
This was such a satisfying pattern to sew and made all the more fun sewing with a fabric design I created myself! I used a cotton poplin. Here is the design in my spoonflower shop spoonflower.com/en/fabric/16830062-floral-lilac-fun-light-small-scale-by-creativeinchi Thank you so much for sharing such a great pattern!
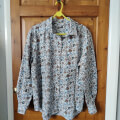
I've made the Noa shirt twice now and this won't be the last time. As free patterns go it's incredible detailed and helpful. My only feedback is the cuff pattern- I find I consistently get better results when I use two cuff pieces sewn together rather than one piece folded (even though it's less work this way!) I made this shirt with some quilting cotton- the end of a bolt that was on sale at a local shop. The shirt is now in weekly rotation.
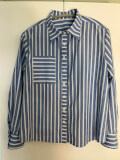
My first button up blouse and it's a keeper. I made this from a thrifted 100% cotton sheet. I had fun incorporating the stripes horizontally. Changes I made to the pattern include shortening 1" in the front & 2" in the back, French seams, lengthened the cuff 2" total (1" actual), 2 buttons on cuff, shortened sleeve 1" to account for cuff, added front pocket, widened the collar tips slightly, and hemmed last. I liked the yoke alternative to the burrito method - ran this horizontally too. A nice free pattern!
Wow! Beautiful!!
CUSTOMER CARE

PHONE
1-866-620-2008
Call us Monday through Friday 10 am - 6 pm PST
SHIPPING & RETURNS
- Fast Shipping: 3–8 business days
- Rush Shipping: 2–3 business days
HOW DOES FREE SHIPPING WORK?
Take advantage of our Free Shipping offer on orders shipping within the contiguous US.
Every day on orders of $300.00 or more - we will pay for your shipping.
Your order will be shipped Standard Shipping (4-8 Business Days) with the shipper of our choice. No
international orders.
Standard shipping takes 24-48 hours for processing. Delivery times begin one business day after the
order is placed. This is due to your order being manually cut and packaged to ensure quality.
SKILL LEVELS EXPLAINED
Beginner: A beginner sewist is someone who is new to sewing and has limited experience using a sewing machine or hand sewing techniques. They are ready to follow basic patterns and sew simple projects, but may struggle with more complex designs.
Intermediate: An intermediate sewist has some experience with sewing and can tackle more challenging projects, such as making clothing with more intricate details or using more advanced techniques including sewing invisible zippers or sewing a partial placket. They likely have a good understanding of pattern making, fabric selection, and sewing machine maintenance.
Advanced: An advanced sewist is someone who has years of experience and can tackle complex projects, including custom designs or alterations. They have a good understanding of fabrics, garment construction, and tailoring. They may also have advanced skills in pattern drafting, draping, and couture sewing techniques.
Skill Levels Info
Beginner - Can sew simple straight & curved seams, some topstitching. Includes crafty-type projects and garments that do not require complex sewing techniques or closures.
Confident Beginner - Has sewn a few simple projects and is ready to learn more. Includes techniques such as set-in sleeves, inseam pockets, patch pockets, generous topstitching.
Advanced Beginner - Eager to continue building skills with new techniques such as zippers, buttons & buttonholes, tailored collars & cuffs.
Intermediate - Comfortable with projects that include multiple techniques such as pleating, yokes, fly zipper, slant pockets, and tailored waistband.
Advanced - Confident with complex, multi-step construction such as welt pockets and unusual details. Enjoys the challenge of new techniques and designer quality.







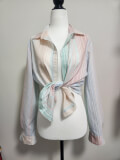

Wow! Beautiful!!