Ida — Linen Bias Wrap Skirt Sewing Pattern (PDF)
Description:
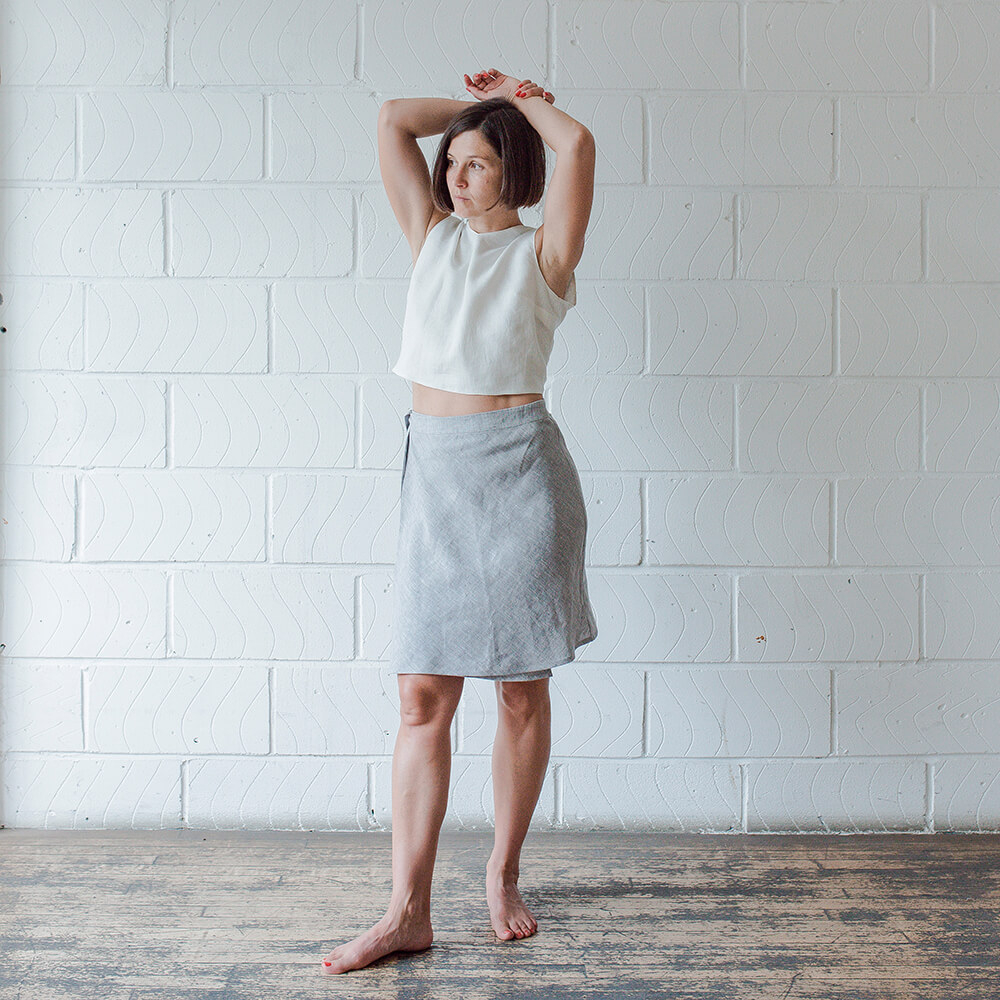
Wrap skirts are among the easiest and most comfortable garments to sew and a very versatile style to wear. It goes with everything and everywhere, all year long. Our version has a little something special: it is cut on the bias and offers a beautiful drape while hugging your body in all the right places.
Product Specifications:
| Type: | PDF Pattern |
| Skill Level: | Beginner |
| Design Variations: | 1 |
| Sizes: | 0/2 to 12/14, 16/18 to 28/30 |
| Illustrations: | Yes |
| Instructions: | Yes |
Customer Questions and Answers
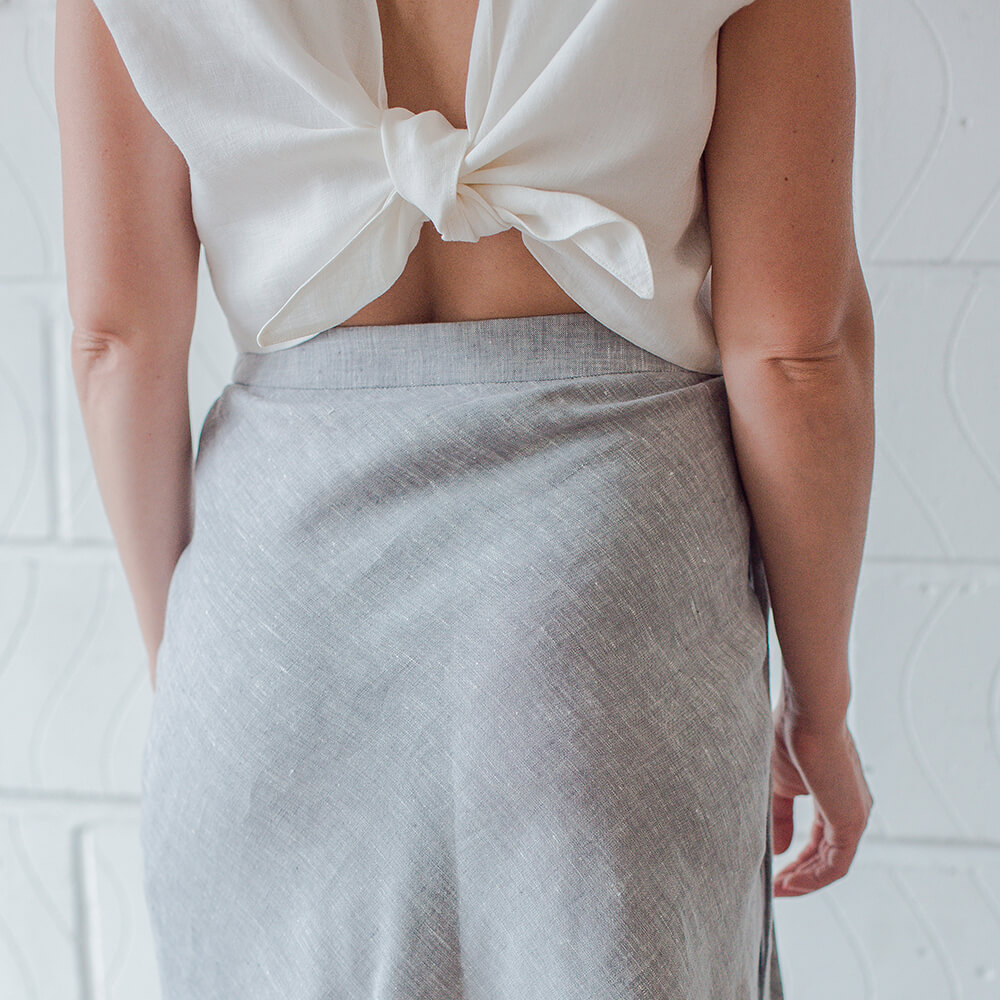
I have not made this pattern but have been interested. My hesitation is that the skirt doesn't seem to lie smoothly across the small of the back. This can happen if the person wearing the garment is a little bit sway backed. Do the instructions contain detailed enough instructions to construct this skirt without getting the wrinkles across the top of the skirt in the back?
Hello, Thanks for your question. Our patterns are easy to adjust for all body types and come with 1 to 1 fit and sewing advice with our in-house seamstress. So help is available to get the best fit for you :)
This pattern is a bit short and I'd like to make a below knee length, will it work if I follow the line and extend the pattern length several inches?
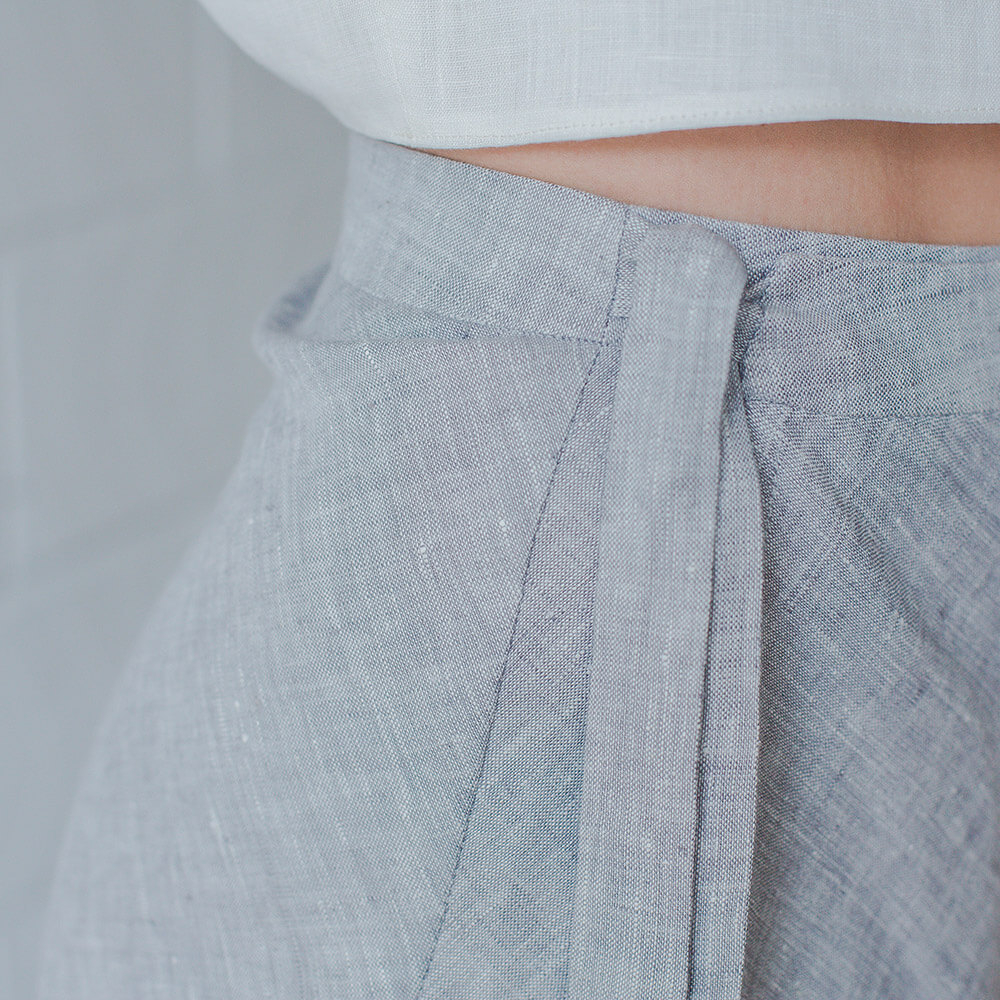
First let me say, I have finished this project and like the outcome just fine. I gave it 4 stars for a couple little things I will explain below. 1. Link in PDF to instructions should be blog.fabrics-store.com/2018/09/12/ida-bias-wrap-skirt-tutorial/ 2. For the band, I put it together as instructed BUT then when I tried to sew it long-ways (tops together) I just could not get the seams to align so I took it apart and sewed the tops together first and then the short sides with the ties and loops and got much better results. 3. I put an extra tie at the end instead of a button because I like a little give in my clothing and the button was likely going to get pulled off. I used the same technique as the loop but made it a little longer than 12", sewing the folded side into the seem allowing 2 ties to dangle out, knotting the ends to tie through loop like a robe. 4. The skirt ended up being about 1" too long at each seam so I sewed from the end, inwards, stopped at the seam, pinned it. Sewed from the other end, inwards, pinned it, sewed the middle, direction didn't matter, up to the pinned skirt seams and altered the side seams the entire length of the skirt about an 1" evenly all the way down. Then I sewed those seams into the band like instructed. 4. My fronts don't align as in the flap corners stick out the bottom because I have a little front girth. I plan on altering the bottom hems later to rectify that. All together I like this wrap and it is comfortable. I plan on making more of these in the future. Thanks for the patterns, they are lovely. And I hope my comments come off as helpful to others. xx
CUSTOMER CARE

PHONE
1-866-620-2008
Call us Monday through Friday 10 am - 6 pm PST
SHIPPING & RETURNS
- Fast Shipping: 3–8 business days
- Rush Shipping: 2–3 business days
HOW DOES FREE SHIPPING WORK?
Take advantage of our Free Shipping offer on orders shipping within the contiguous US.
Every day on orders of $300.00 or more - we will pay for your shipping.
Your order will be shipped Standard Shipping (4-8 Business Days) with the shipper of our choice. No
international orders.
Standard shipping takes 24-48 hours for processing. Delivery times begin one business day after the
order is placed. This is due to your order being manually cut and packaged to ensure quality.
SKILL LEVELS EXPLAINED
Beginner: A beginner sewist is someone who is new to sewing and has limited experience using a sewing machine or hand sewing techniques. They are ready to follow basic patterns and sew simple projects, but may struggle with more complex designs.
Intermediate: An intermediate sewist has some experience with sewing and can tackle more challenging projects, such as making clothing with more intricate details or using more advanced techniques including sewing invisible zippers or sewing a partial placket. They likely have a good understanding of pattern making, fabric selection, and sewing machine maintenance.
Advanced: An advanced sewist is someone who has years of experience and can tackle complex projects, including custom designs or alterations. They have a good understanding of fabrics, garment construction, and tailoring. They may also have advanced skills in pattern drafting, draping, and couture sewing techniques.
Skill Levels Info
Beginner - Can sew simple straight & curved seams, some topstitching. Includes crafty-type projects and garments that do not require complex sewing techniques or closures.
Confident Beginner - Has sewn a few simple projects and is ready to learn more. Includes techniques such as set-in sleeves, inseam pockets, patch pockets, generous topstitching.
Advanced Beginner - Eager to continue building skills with new techniques such as zippers, buttons & buttonholes, tailored collars & cuffs.
Intermediate - Comfortable with projects that include multiple techniques such as pleating, yokes, fly zipper, slant pockets, and tailored waistband.
Advanced - Confident with complex, multi-step construction such as welt pockets and unusual details. Enjoys the challenge of new techniques and designer quality.


