Paola Workwear Jacket Sewing Pattern (PDF)
Description:
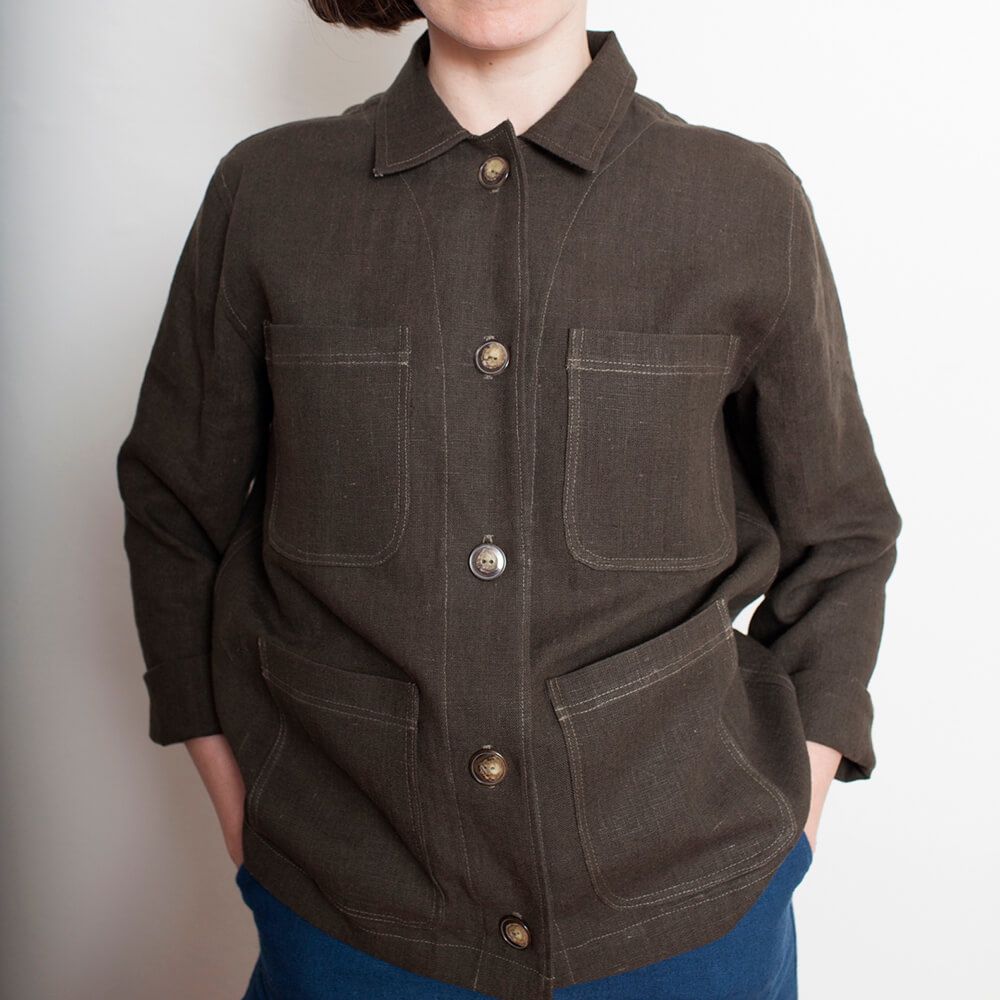
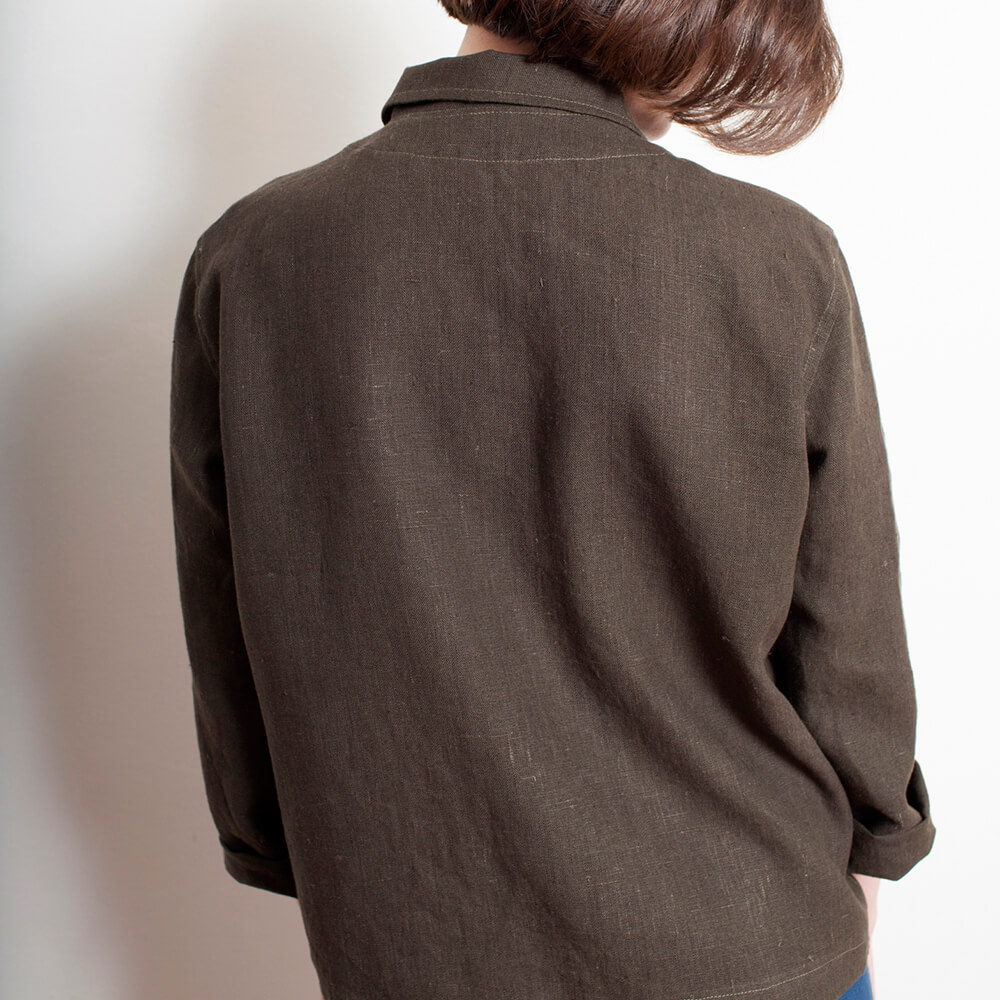
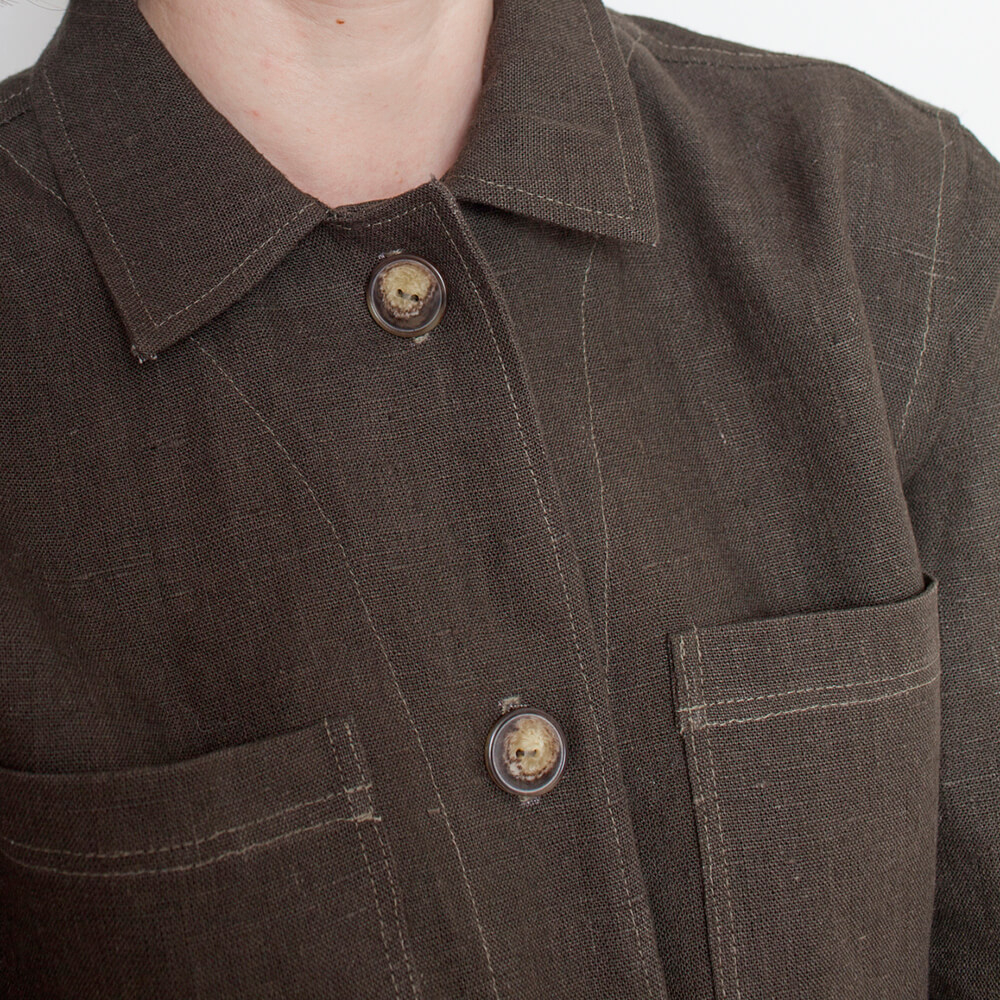
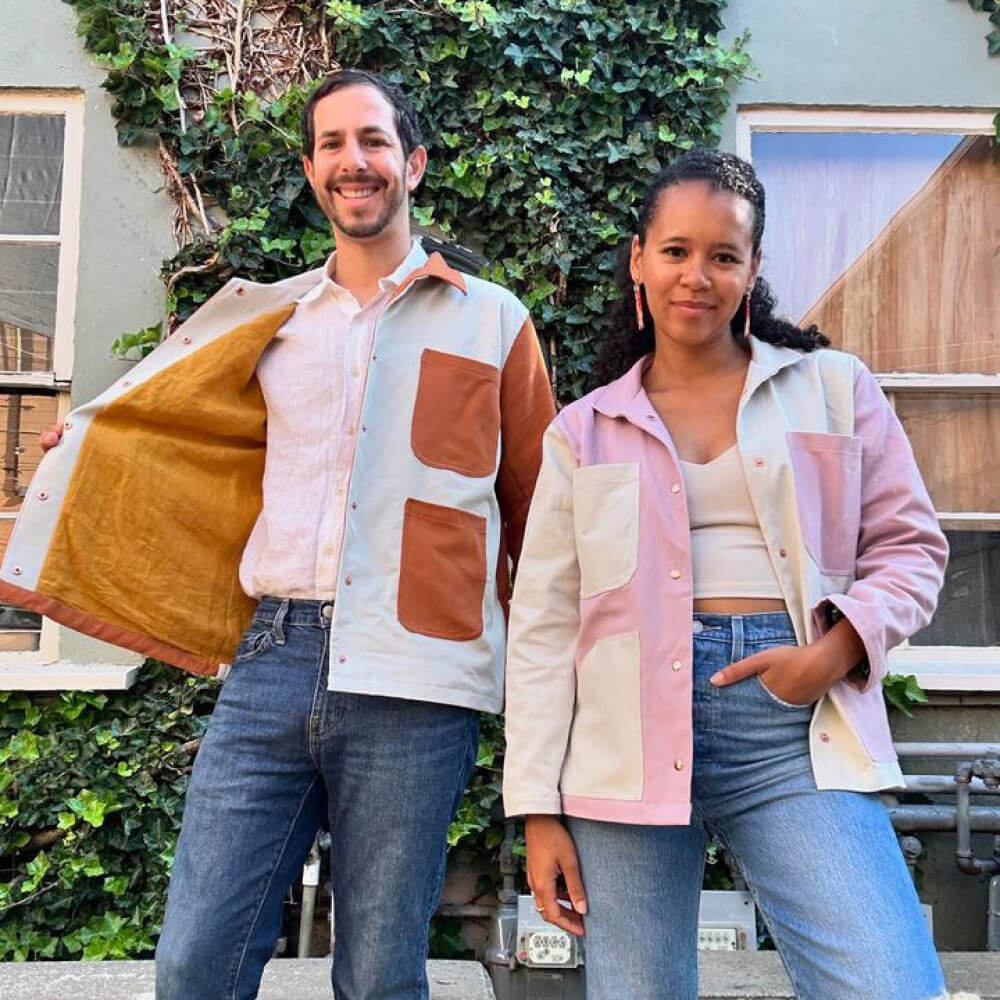
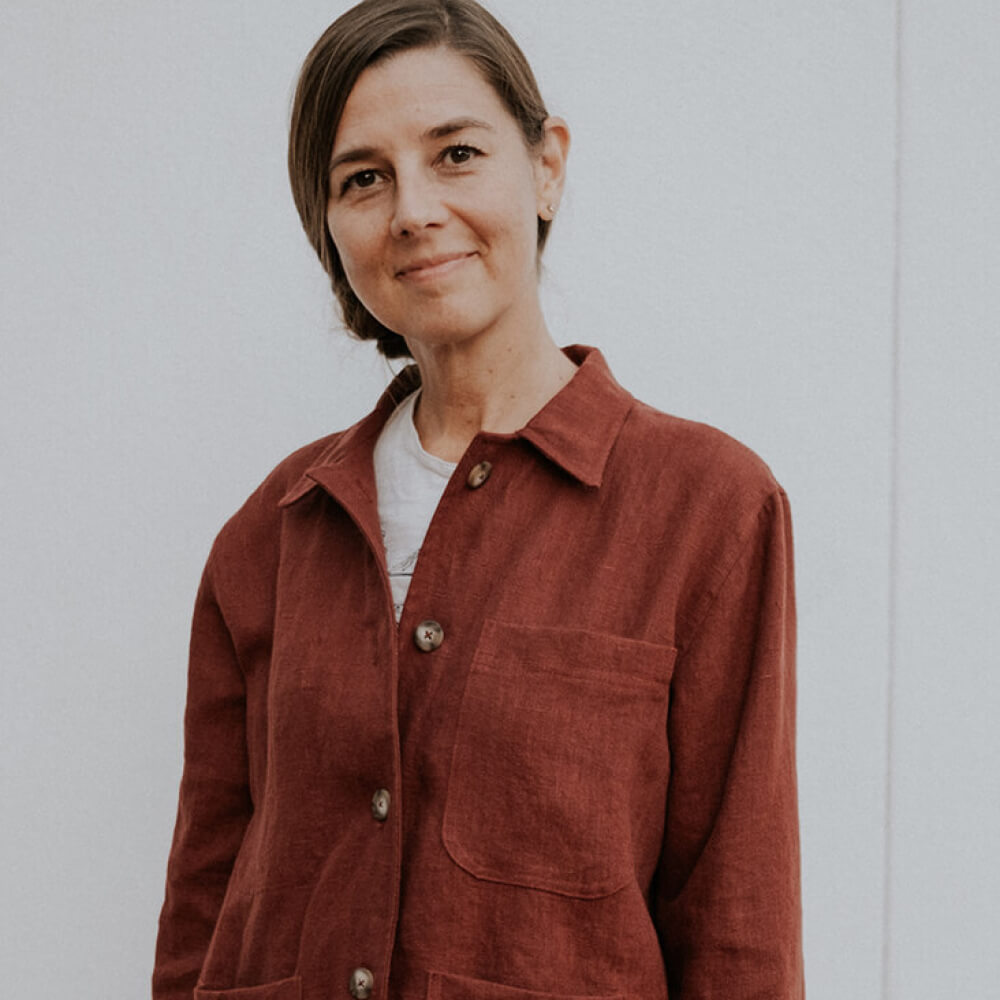
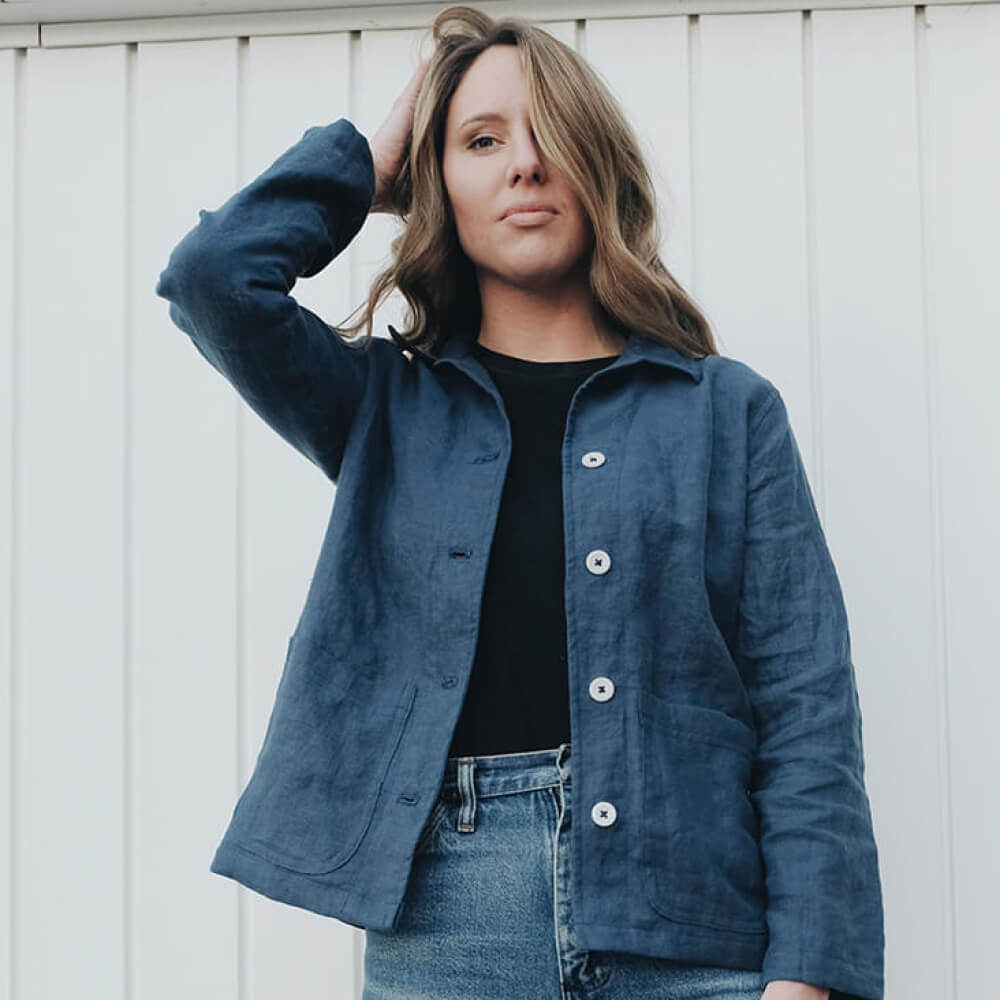
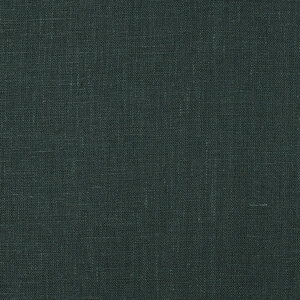
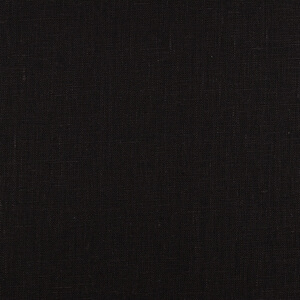
Workwear-inspired, the Paola jacket combines fashion with practical, everyday wear. Featuring straight boxy fit, four large patch pockets and flat-felled seams for sturdiness, it pairs well with just about everything. Made from our textured heavy-weight linen, it has that lived-in feel from the very first wear.
Product Specifications:
| Type: | PDF Pattern |
| Skill Level: | Beginner |
| Design Variations: | 1 |
| Sizes: | 0/2 to 12/14, 16/18 to 28/30 |
| Illustrations: | Yes |
| Instructions: | Yes |
Customer Questions and Answers
Hi there! Is this pattern no longer free?
We had promotion for free patterns for a while , but this offer has been expired. All patterns is for sale at this time for all of our customers.
Hi - I had purchased this pattern while it was free, and today when I went to make it, I couldn't access the pattern anymore. I tried to download it, but it's saying my password is incorrect when downloading it again - but my password on the fabric store is correct? Can somebody help? Even if somebody could email me the pattern again to download - I don't want to have to purchase it, since I already bought it while it was free! Thanks so much!
I have send you password instructions and steps how to print patterns via email at your gmail.com Please let us know if you need additional information or have more new questions.
Probably a stupid question - grain lengthwise or crossgrain?
Our recommendation to cut the fabric to the length of the fabric, the grain line need to be by the length of the fabric.
Just interesting in knowing the reason behind not having free patterns any more?
We had promotion for free patterns for a while , but this offer has been expired. All patterns is for sale at this time for all of our customers.
What size printing options are there? Specifically, is there a copy shop printing option so we can avoiding taping pages together??
The PDF patterns -paper size is A4 or Letter Size.
I have this patterns downloaded from a few years ago but can't find the sizing chart. Is there another place to access this?
I have email you a size chart for Paola Workwear Jacket Sewing Pattern
Is there anywhere I can see the sizing specs before purchasing?
Please check your email I have send you a size chart for the pattern
Am I allowed to use this pattern to make jackets to sell? Wasn't sure if there is copyright on the product that I would make from it.
Bailie, we wishing you success in your business. Our goal is to help people like you build your collection without high development cost. Do not worry about copyright.
I can't find where I can get the free pattern. Can you help?
We had promotion for free patterns for a while , but this offer has been expired. All patterns is for sale at this time for all of our customers.
Hi there. I am using adobe acrobat to get a single size. I hit print in 100% size but when printed, the page margin is cut off. I tried putting 90% and was able to print the whole thing. Also, tried clicking A4 & Letter size but still having issue with the page margin being off and printed on second place. Can you please help me?
We have send you step by step printing instructions of PDF pattern to your gmail.com email.
How much material is needed
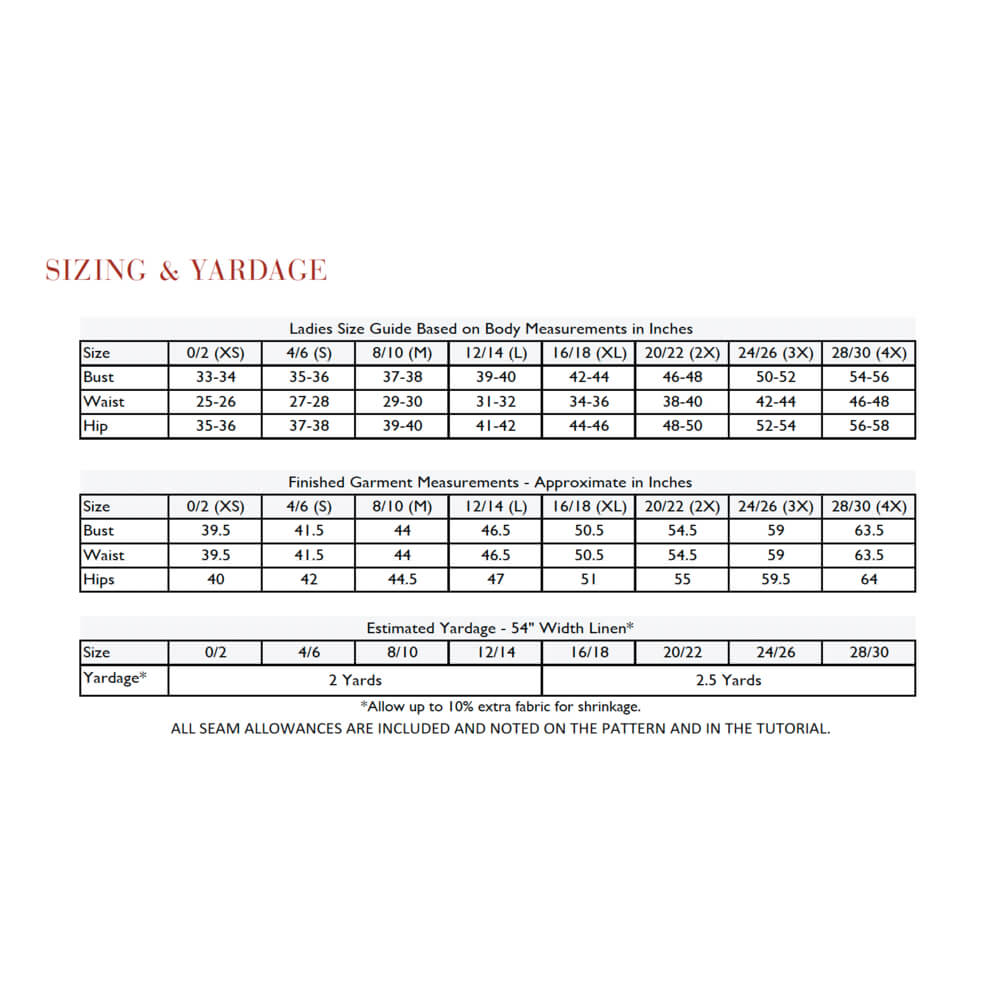
For our sample size S pictured in this tutorial you will need 2 yards of 4C22 TEAK Softened Heavy Weight Linen, please let us know for what size you interesting to find out how much fabric you need for Paola Jacket
Since this is no longer a paid pattern, is it possible to get an A0 version so that it can be sent to a large scale printer?
For Paola pattern we only offer to print on version A4 letter size of the paper.
What size buttons are used on the Paola Jacket? I can't find that information...unless my eyes are just skipping over it. Thank you.
For Paola jacket we recommend to use 3/4" or 1" size of the buttons
I have just purchased this pattern - I am unable to see the AO size for printing ? Is this only A4 - I couldn't see anywhere in the description about this. I would have preferred this to be shown. I may not have purchased it otherwise. Many thanks
Confirming the printing for the pattern is only with A4 formate
Seriously this pattern was free and now we have to pay 10$? :(
We had a promotions for free patterns , but this offer is not available any more.
PDF says that it has embedded layers to select for desired size. Tried going to layers tab in Adobe PDF and nothing is showing up. Is there a preferred PDF view that will allow me to select the right layer for my size or is my pdf corrupted?
Thanks for your message! It sounds like the PDF might not be displaying correctly in your current viewer.
Hi, is this pattern paid now? It used to be free, but i don't see any free download link anymore. Thanks
We had a promotions for a free patters. This offer has been changed . Patters are for sale at this time.
The page for the blog post with the instructions is down. Is there a way you could email me instructions or something similar? Thank you
The page is working, please login and download instructions
Is this pattern available in an A0 version that I can have printed at a copy shop?
Paola Pattern - we are offering free print-at-home format on US letter or A4 paper
Do I print the pattern on both sides of paper? No option for some reason to print on one side of paper and I'm confused
Please print pattern on one side of the paper
Is the Paola Jacket pattern suitable with bedspread-weight quilted fabrics?
You can use bedspread weight quilted fabric for Paola Jacket
I know you the FS team said this is a unisex pattern, but I'm curious if the sleeves will be too slim/narrow for men? Or the sleeves are also sized in unisex. Sleeves in women's jacket can be slimmer, please let me know. Thank you
All of our patters is created for women's . We do not recommend to use this patter for man jacket.
Is this a unisex size do you think? Curious if I could make it for a man
Yes, this pattern is unisex and has been made for both genders.
I love my Paolo jacket in 4C22 Natural! I left off the upper pockets and the buttons/buttonholes. What would you all think of using lighter weight IL019? I bought the Japanese Blue (Wow!) and would like to add a sashiko piece on the back. Thank you all for your ideas. Happy sewing!
Hi There! We're so glad you love our Paola Jacket. Yes, you can also make it up in the mediumweight IL019 fabric for a lighter over shirt or warm weather layer.
Do you have the pattern available as an A0 file or large format to be able to provide it to a copy shop?
I'm sorry we do not offer this format.
How many yards of fabric would I need to make this size s/m?
The yardage is listed in the free download. We recommend comparing your body measurements to those provided in the size chart to select the most appropriate size.
I have made this jacket twice, and I love to throw it on over a t-shirt and get to work! Now I want to make a quilted version, but with a standup collar that will snap together. Do you have any advice on how to make that hack work?
We have many tutorial on our blog which show you how to sew and, for some, draft various collars. Here is the link: blog.fabrics-store.com/2022/05/10/sewing-glossary-how-to-sew-your-most-essential-four-collars/
hii have i hav just download the pattern could you tell how to print the instructions please thankyou
After you have found the instructions on our blog, you can scroll down to the bottom of the tutorial page and click the .pdf icon which will generate a .pdf for printing.
Is this pattern available graded for printing on imperial letter-size paper (for N.America) or only A4?
Hello, All of our free patterns are compatible with both A4 and Letter sized paper.
This looks great, is it possible to print off in A0 to save sticking all the squares together?
Hello, in order to offer so many patterns for free we only offer them as A4/ Letter sizes.
I have mad 2 of these jackets, both lined. One from corduroy and the other from Meadow 4C22 linen. I want to make one out of IL019 linen. My question is if the IL019 linen is suitable for this pattern. I would not be lining it. I wondered if it was structured enough so it would hole its shape.
Hello, The IL019 is lighter in weight than the 4C22 so it will have more drape than the 4C22 heavyweight that you used. Many customers have used the medium weights to make this jacket as more of an overshirt :)
Hi, I am also unable to access the instructions. I'm getting a "502" error
Hello, Our Blog was down earlier today, but is back online now. You can try again by searching the name of the pattern in the search bar. If you are still unable to reach the blog, please send us an email via our 'contact us' link at the bottom of our website. Thank you!
Hello. It's the second time I try to make the pattern, but this time I can't find the instructions, the website doesn't work. Can you email it to me please?
Hello, Our Blog was down earlier today, but is back online now. You can find the instructions by searching the name of the pattern in the search bar. You can also download a copy by clicking on the .pdf icon at the end of the instructions. If you are still unable to reach the blog, please send us an email via our 'contact us' link at the bottom of our website. Thank you!
What size would you suggest to come close to a mens xl?
Hello, Due to the variations in sizes across brands, we recommend you compare the body measurements to the size chart in the pattern to select the best size.
Hello, I wanted to add a lining to this jacket, and i read your instructions but, as my English is not my mother language i did not understand want you mean with : Adding 1/4" up and out from each armhole point. Could you please explain this ? thank you ! love the pattern to ! gets Christine
I have sent you an email
Do you make a full size pattern for the Paola. It's so much easier to to to FedEx and just print the pattern full size than to cut, tape, and cut again.
Hello, In order to offer so many patterns for free we only offer them in this format.
Hello, I was wondering if you have a tutorial for how you did the lining on your jacket. It looks really nice.
I drafted the lining pieces by: -Removing the front and neck facing from the front and back pattern pieces - Adding 1/4" up and out from each armhole point. This allows the sleeve lining a bit more room to move in there, and removes any tightness. - Added 1" to the center back to form a pleat to allow plenty of moving room, and again avoid any tightness. Instead of 'bagging' my lining, I serged all the edges, and basted it at the side seams, shoulders and fronts, and spent a lovely time hand stitching it in place with an invisible stitch while listening to some podcasts. I love doing these little hand stitched finishes. The basting stitches just held everything in place so it didn't shift around while I was hand sewing. They got removed after everything was secured.
This is my second time making this pattern and I love it! Both times I have had trouble doing the rolled seam on the arms once they have been sewed. My machine won't fit down the arm holes, do they need to be hand sewed? Any advice?
Hello, yes those can be tricky so we made a tutorial for how to sew them on your machine. Here is the link: blog.fabrics-store.com/2021/02/11/sewing-glossary-how-to-sew-flat-felled-seams-on-sleeve/
Can you supply Paola jacket pattern in hard copy form by post ?
Apologies, our free patterns are only available in .pdf format.
Hello! I'm looking for some advice with laying out and cutting out of the pattern. Should it be cut out with fabric right sides together (so wrong side up) or vice versa? And what does 'face to face' mean, when it says cut 2 face to face? If you had a layout diagram with a wright side/wrong side indication that would be extremely helpful! Thanks!
Hello, Our patterns are designed to be cut with the RS of the fabric facing out. Face to Face simple means you will need two mirror images of the pattern in question. For example, sleeves will be cut as usual from two layers of your fabric, but you will yield a left and right sleeve. This is particularly important when working with linen with no apparent right or wrong side.
Where are the instructions and the notions needed? On the Paola and other PDF patterns Thank you.
Hello The instructions and list of notions can be found in the tutorial which is located on our blog. Simply go to blog.fabrics-store.com and enter the pattern name into the search bar.
Is this a unisex pattern? Would love to make one for my partner! Thanks
It sure is! Happy sewing :)
It looks like the jacket is unlined, correct? How would I add a lining? (Or should I just google "how to line a jacket?") Thank you!
Hello, Yes this pattern is unlined, but there are many ways you can create a lining. It would be best to browse the many methods and select the one you prefer.
can he pattern be printed AO size carole
This pattern is available in A4/ letter format only.
How can I print this accurately on US Letter size paper if it comes in A4 format?
Hello, Our patterns are formatted for A4 and Letter sized paper, so simply set your print settings to 100%, "actual size" or "No scaling" (which ever is applicable for you) to print at the correct dimension. Be sure to print the test page first to check the measurements on the 2" test square. Happy sewing!
I really like the style of this jacket. I cut out based on my measurements only to find it was about 4 sizes too big - simply ginormous!!! I don't think there is any salvaging this project. I'm especially disappointed since it was cut from your Earthen Red rustic linen - a color that is now sold out. Turned out a waste of time and fabric
We're sorry you didn't find the sizing to suit you. Please note that this pattern has the finished garment sizes provided to you so you can use those to visualise the actual size of the finished garment.
I love how easy this was to follow along and sew. I have made three jackets in a few weeks and love them.
I live in Iowa where there is much snow and cold temperatures this January. As an avid searcher for new projects (although many old projects still exist) I found this pattern and downloaded. It's a great pattern and the jacket is 99% complete. Trying to remember how to make buttonholes. Thank you so much and will post a photo on completion.
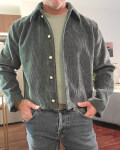
I love this pattern! I've made one for myself and two as gifts. I was initially hesitant to use this pattern to make coats for men since it is nominally a women's pattern, but all the patterns worked perfectly without any changes- I just used the pattern size that corresponded to the chest measurement of person I was making it for. I modified the pattern to make it better for winter weather by discarding the interfacing and instead making a full lining out of the same pattern pieces as the outside. I added an internal pocket as well for extra storage. I used flannel wool from Pendleton for the outer shell, canvas weight linen for the lining, and homemade antler buttons. I highly recommend this pattern! The pockets are huge (you can easily fit a soda can in them) and the design is great for layering over sweaters or sweatshirts during the winter. Some tips: Be sure to check the margins on your printer before printing off the pattern. The first printer that I used didn't print off the last 1/2" of the pattern, which made assembly a little more difficult. I also recommend taping the printed pattern pieces together in strips then taping the strips together before finally cutting out the pieces.
A great free pattern. I'm already planning to make others. I did size down one size based on the ease between body measurements & finished measurements. Fits well.
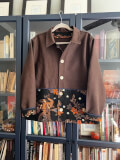
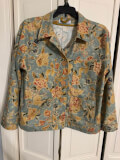
I loved how it turned out! I made my own patchwork fabric from a stretchy denim I got at the thrift store. • Pattern tweaks: Didn't put the pockets on the front like the pattern calls for. Instead, I added pockets in the side seams. I 'self-drafted' pockets loosely by tracing around my hand. I used snaps instead of buttons. Instead flat felled seams (like the instructions call for), I serged after joining seams with regular sewing machine. • Projector for sewing: This is the second project where I've used a projector instead of a paper pattern. I have an epson ultra short throw. I got it on eBay for $80. If you're curious about using a projector with this pattern, you can watch how I did it in my video on YouTube: youtu.be/MCjQCVtLVIc?si=WZ0_gUmwNxc8gsMp
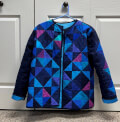
Thank you so much for the access to a good jacket pattern. I have been wanting to make a quilted jacket for some time with some leftover have square triangles I had. I definitely didn't construct the pattern as written, but the Paola jacket was a great springboard for my project.
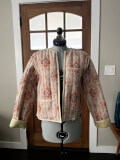
Really enjoyed making this jacket. As you can see I made a few adjustments. I shortened it. I sewed the seems right sides together and then trimmed them. I shortened the pockets and only used two. I originally was going to have both pockets on the bottom but the pattern of the one pocket didn't match up with the pattern on the jacket but it did match up a little higher, so I just moved it up. I would def do both on the bottom next time. (it was kind of anxiousness of seeing it all done that aided in putting the pocket there and not just cutting a new pocket) I also took off about two inches of the front of the jacket so that is more of an open jacket and not really a closing jacket.
I used rustic brown linen and an Indonesian cotton batik that I doubled to match the weight of the linen and give a clean interior finish. Added pockets between the welt and the linen. I learned how to do flat felled seams, but could not do the topstitching on the sleeve seam because the sleeve is too narrow for that - maybe I'm missing something in the instructions. I also figured out that the correct distance from the edge for buttons is button width minus one eighth of an inch, which is good to know when using bigger buttons. I made it for a friend, but will make one for myself, but perhaps with a shoulder adjustment to make the sleeve cap a bit narrower. In general, a great project!
This jacket was so much fun to make. I haven't sewn for myself since the 80's & have never made a jacket. I used 2 charm packs & neutral 5" squares to create the front, back, sleeves, & collar. I quilted each panel to the batting & interior fabric. Sewed the quilted pieces following the pattern. I was nervous doing the felled seams, but they weren't that bad. I kept it simple & did not add buttons or snaps. Overall this was a great pattern & love my coat. I've started my 2nd one! Thanks!
Great job on the piecing and quilting. Very Cute. ❤️
Used 1.5 yards of upholstery fabric to make a cropped version in size small of the Paola jacket. Shortened the bodice by 2 inches, added a center back seam and sleeve hem facing in order to cuff sleeves as well as contrast binding on facings and hem. Basic, well fitting pattern. Highly recommend it.
I made this using the FS free Paola jacket pattern in 4C22 Tawny Port, with several adaptations. I cut it longer and a bit more shapely, eliminated the top pockets, added a back vent and sleeve buttons, and finished the seams with bias tape. It was worth all this extra effort because it's a great ‘colorful neutral' that will go with almost everything, I have a bespoke garment, and the fabric will last and last. The pattern was great, and easy to use and adapt. I wash this fabric on warm, shake, hang, smooth the seams, and let it dry and it's good to go for the next wearing!
hi. i love the result of your jacket. can you explain more details on how did you do the back vent. thank you
Here’s a tutorial that explains how I did the back vent. Hope this helps! http://sewaholic.net/adding-a-back-vent-to-the-robson-coat/
Easy to assemble, I used the pattern to upcycle a quilt and an IKEA pillow case, all fabric is 100% cotton exclusive of trim. I omitted the facing as the quilt was thick enough to give body and shape. Pleased with the outcome but I think the instructions should give guidance on which measurement is important when choosing the size. My measurements fell between two sizes, checked the finished size, this was an inch or two larger than my measurements but the finished jacket was massively oversized. I will definitely size down on the next one.
CUSTOMER CARE

PHONE
1-866-620-2008
Call us Monday through Friday 10 am - 6 pm PST
SHIPPING & RETURNS
- Fast Shipping: 3–8 business days
- Rush Shipping: 2–3 business days
HOW DOES FREE SHIPPING WORK?
Take advantage of our Free Shipping offer on orders shipping within the contiguous US.
Every day on orders of $300.00 or more - we will pay for your shipping.
Your order will be shipped Standard Shipping (4-8 Business Days) with the shipper of our choice. No
international orders.
Standard shipping takes 24-48 hours for processing. Delivery times begin one business day after the
order is placed. This is due to your order being manually cut and packaged to ensure quality.
SKILL LEVELS EXPLAINED
Beginner: A beginner sewist is someone who is new to sewing and has limited experience using a sewing machine or hand sewing techniques. They are ready to follow basic patterns and sew simple projects, but may struggle with more complex designs.
Intermediate: An intermediate sewist has some experience with sewing and can tackle more challenging projects, such as making clothing with more intricate details or using more advanced techniques including sewing invisible zippers or sewing a partial placket. They likely have a good understanding of pattern making, fabric selection, and sewing machine maintenance.
Advanced: An advanced sewist is someone who has years of experience and can tackle complex projects, including custom designs or alterations. They have a good understanding of fabrics, garment construction, and tailoring. They may also have advanced skills in pattern drafting, draping, and couture sewing techniques.
Skill Levels Info
Beginner - Can sew simple straight & curved seams, some topstitching. Includes crafty-type projects and garments that do not require complex sewing techniques or closures.
Confident Beginner - Has sewn a few simple projects and is ready to learn more. Includes techniques such as set-in sleeves, inseam pockets, patch pockets, generous topstitching.
Advanced Beginner - Eager to continue building skills with new techniques such as zippers, buttons & buttonholes, tailored collars & cuffs.
Intermediate - Comfortable with projects that include multiple techniques such as pleating, yokes, fly zipper, slant pockets, and tailored waistband.
Advanced - Confident with complex, multi-step construction such as welt pockets and unusual details. Enjoys the challenge of new techniques and designer quality.
